Easy DIY Kitchen Makeover
After we purchased our home, updating the kitchen became my number one priority. Because I had already done something similar in a prior home (read about it here) I decided to apply the same easy DIY kitchen makeover here.
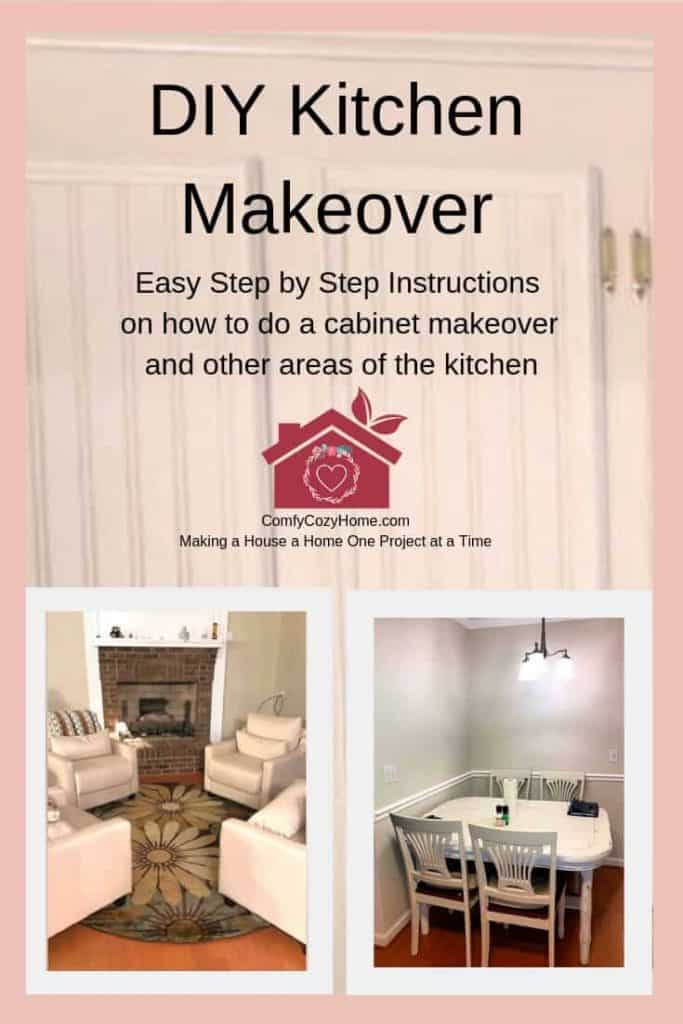
While in escrow, I created a photo worksheet on each of the rooms and how I plan to do a DIY Makeover on each of them. These are the two that I took on the kitchen area. The first is a pic of the cozy area right off the kitchen and the kitchen nook where I plan to put a table and chairs. You can read more about what to do while waiting in escrow here.


This post may contain affiliate links and we may earn compensation when you click on the links at no additional cost to you. For additional information, please see my full disclosure policy.
I got to work right away on the fireplace area because at this time we had nowhere to sit. So I went online to find some chairs that I could use that would be comfy and functional. I purchased 4 cream colored chairs that also have lift up seats for storage underneath. The company I bought the chairs from unfortunately went out of business. A similar choice would be these from Lowes.
Then I found a round rug that I felt would bring the colors of the walls and the wood floors together as well as some stools I found for the counter.
When all was done, I had my perfect little gathering place. To my delight, everyone loves the little conversation area and we spend most of our time there right off the Kitchen. I stil l have some decorating to do but that will come later!

It then proceeded to the kitchen to start the makeover process there. First things first, I cleaned out all the cupboards of all the old contact paper and washed them down with TSP. I always use TSP. It mixes with water and does not leave any residue.


I purchased shelf liner from Lowes. I purchased 3 rolls and had a bit left over to do the pantry next time around. This is the brand I used.

I measured each drawer and shelf twice and then transferred the measurements to the liner. I cut using scissors and laid the liner in place. This liner was easy to use and I like that it was not sticky. Much easier to place it in the right places and get it in the corners.


Next in order to upgrade the cabinets, I used the same technique I had done in my Paso Makeover here. I loved the look and the process was so easy. I used paintable wallpaper which I purchased off Amazon. Here is the link.
I bought 2 rolls and had enough left over to do the bottom of the island next visit. These are the steps I used to get the perfect look.
These are the steps I followed for my easy diy kitchen makeover
Step One:
Clean the cupboards with the TSP. Use a sponge to clean the doors. In this case I did not remove the doors. At some point I may replace the hardware but for now it was in good condition so I left it.


Step Two:
Measure and then measure again! I took the measurements of each door because no two are alike – ever! Measure the length and the width of each door where the wallpaper will go. Then transfer the measurements onto the wallpaper and cut with scissors.

Step Three:
Get the wallpaper wet with warm water. I use lukewarm water. I find it makes the paper a little more flexible and is easier to work with versus cold water.
Step Four:
Place the wallpaper on the door panel and using a wet cloth go over the entire piece with very little pressure. Just enough to have any excess water ooze out and get the paper to adhere properly. If your cut was off a bit and you have excess, let the paper dry before removing with a razor knife. If you try to cut it wet, it will tear and may not be suitable anymore.

As the paper dries and you continue to the next panel, keep looking at the ones you’ve already done to make sure the paper is sticking. Use the wet cloth to continue to smooth it down as needed and not leave any bubbles.

It takes a few hours to dry and the results are stunning! A brand new look for tired cupboards!
Lastly, I painted the kitchen nook, replaced the lighting fixture with one from Lowes and put in a vintage table that I found at an antique mall and found 4 chairs that almost matched the pattern of the table on the backs. I love how it turned out.

When I am shopping for any products I always use Be Frugal and/or Ebates to see if they offer cash back on sites. I have managed to save upwards of 10% on products in the form of a cash rebate. Can’t beat that!
I was very happy with the progress so far on the kitchen area. Everyone always ends up in this area at some point so I like it to be comfortable and homey. Stay tuned for more updates as we continue to renovate our home!
This room is part of the Style Your Home Virtual House Tour
I’ve recently connected with some home décor and DIY bloggers who share fantastic tips on how to style your home as part of the Style your Home Blog Hop. If you’re looking for tips on how to add some spring flare or need home design help, this blog hop is for you!
After looking through my easy DIY Kitchen Makeover, hop on over to the links below. Check out each blog for inspiring ideas and leave a comment to let them know how their post has helped you. Don’t forget to pin so others can benefit from their wisdom.
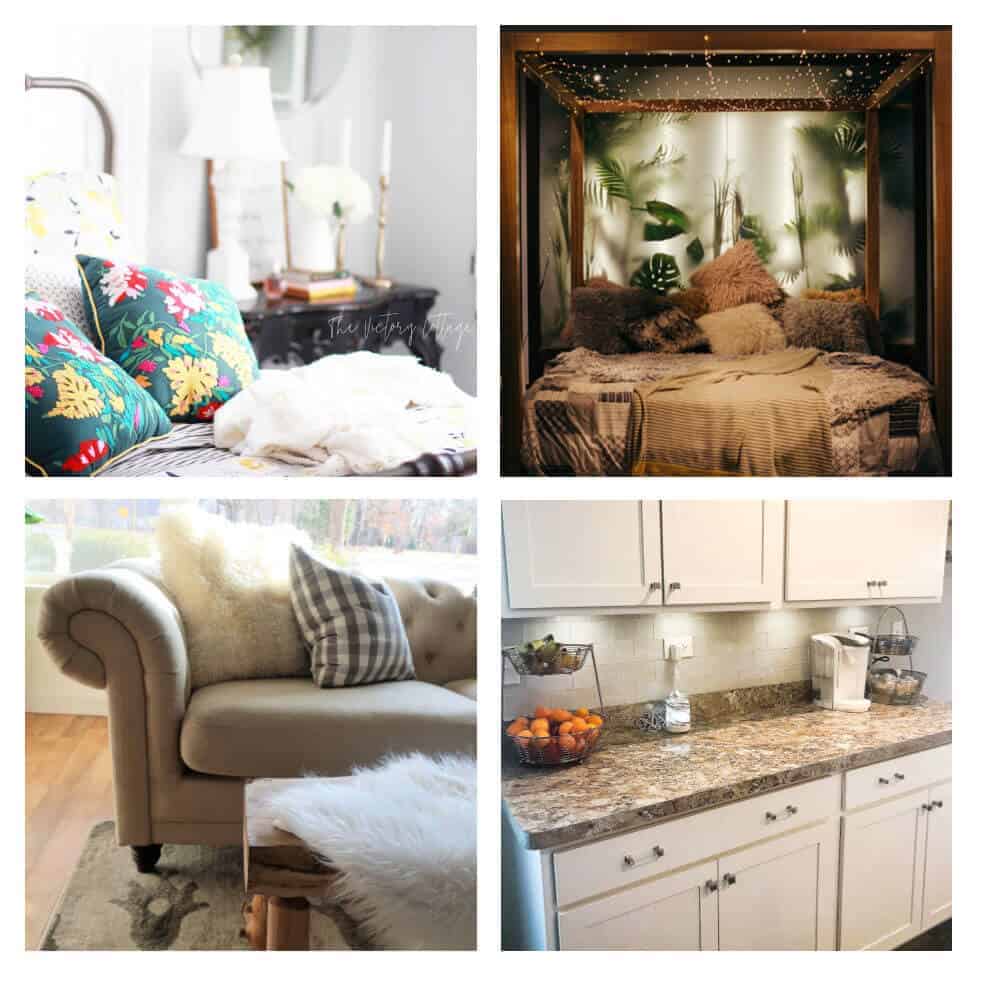
Click the links below that correspond to the photos above!
Bedroom Spring Décor – The Victory Cottage | Create a Home Decorating Style that Inspires You – Common Canopy
Thrift Finds Farmhouse Style – Free Range Cottage | Affordable Kitchen Hardware Update – Rosewood and Grace
Pin it for Later:
