DIY Antique Vanity Makeover
I love to refurnish, repair, and repurpose furniture. My love of old antique furniture runs deep. I have been doing this for over 20 years now and even have made some money along the way. It is often that I have people not happy that I paint antique furniture and I always tell them that it is usually only if the piece has a lot of damage or just lends itself to be prettier when painted. So here is my DIY antique (yikes!) vanity makeover.
This post may contain affiliate links and we may earn compensation when you click on the links at no additional cost to you. For additional information, please see my full disclosure policy.
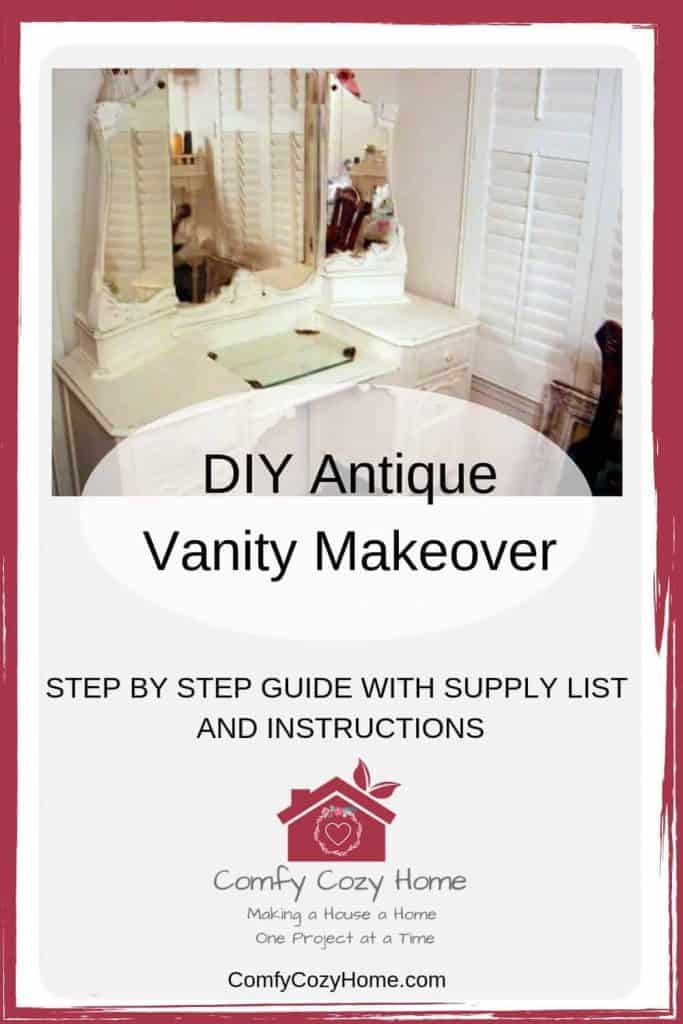
This piece I picked up at a flea market is exactly what I am talking about.
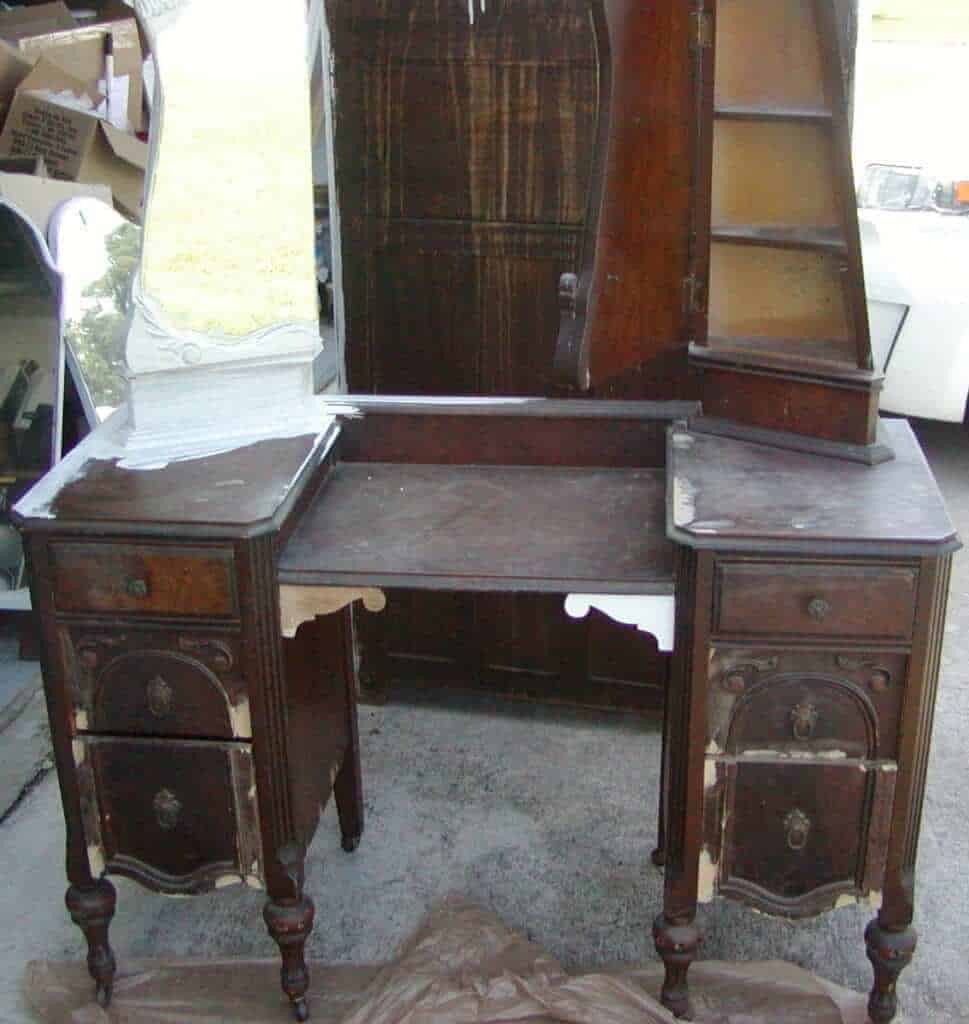
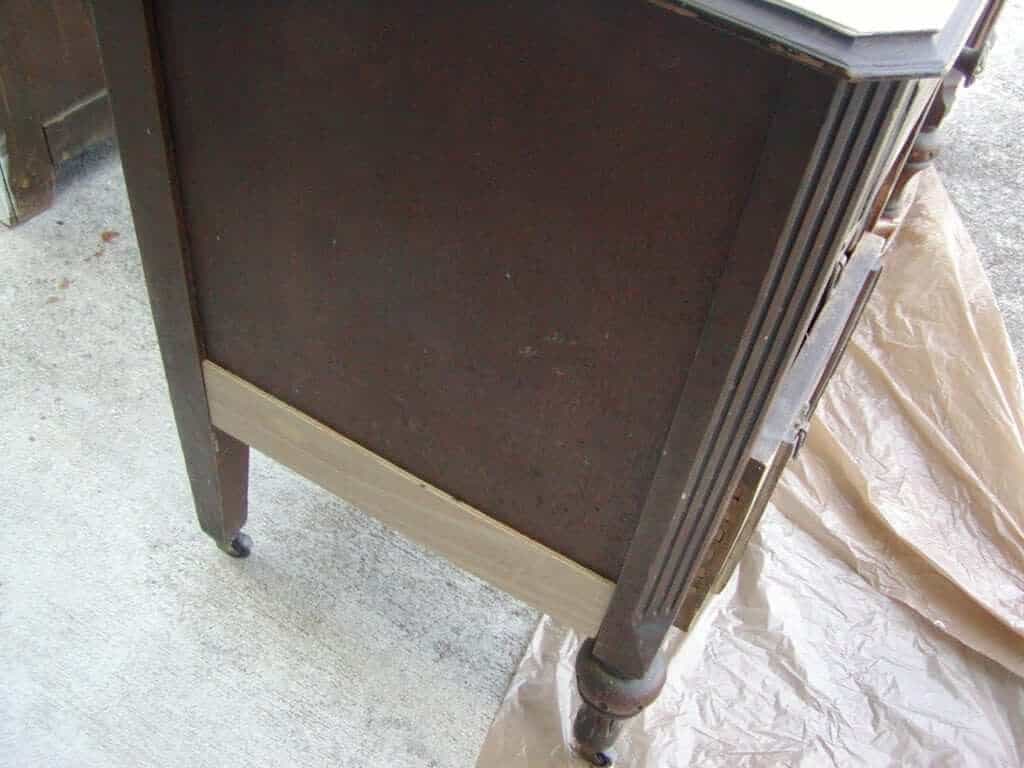
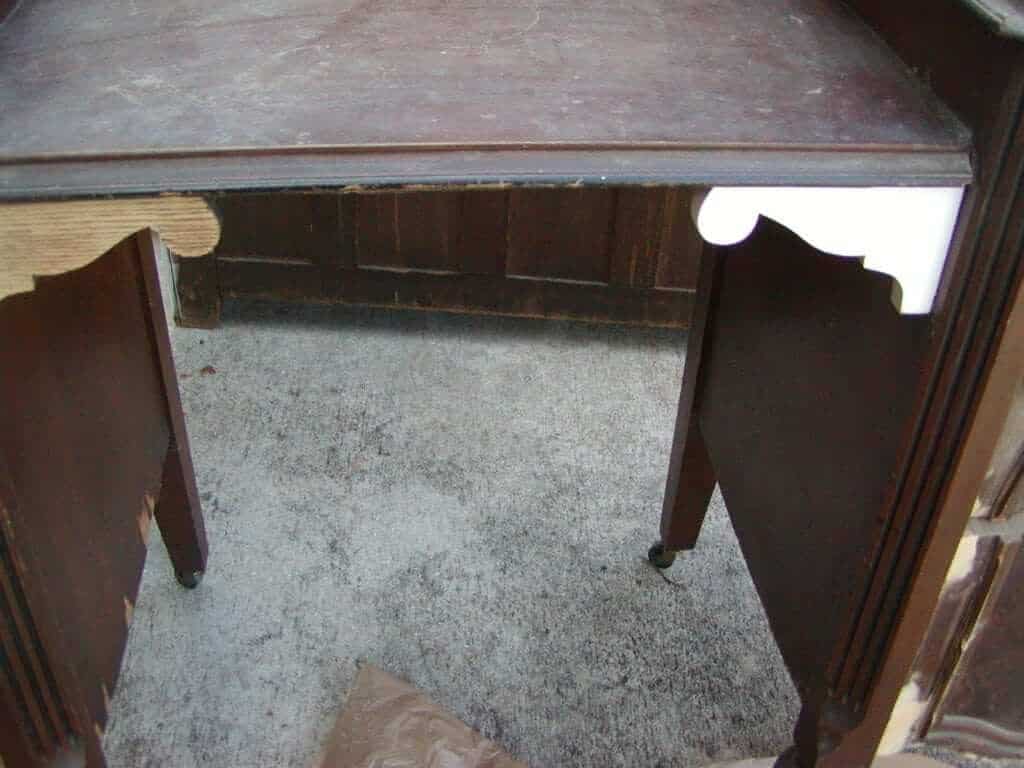
The piece had good bones, meaning that the structure was sound with no broken legs or back, things that hold the piece together. It did, however, have a lot of cosmetic damage to it. The veneer was missing in some spots or peeling back. There was some molding missing and a decorative bracket was gone.
Tools and Products used (links included and see end of post on where to buy):
- Orbital Sander
- Sand Paper of various weights
- Wood Filler
- Jigsaw
- Paper and pen
- Foam Brushehs
- Flat off white paint
- Satin varnish
- Luan board
- Flat razor blade
Step One: Cleaning the antique vanity
I take an old dampened rag (t-shirt or wash cloth) and clean in all the crevices and cracks wiping down the entire piece. I take the rag and get it wet with water and wring it out good. I do this occasionally until the piece is clean. I then let the piece dry. This normally takes about an hour to complete based on the size and intricacies of the piece.
In this piece I used the original hardware so in each step as follows I included painting, sanding, coating and distressing them as well.
Step Two: Sanding
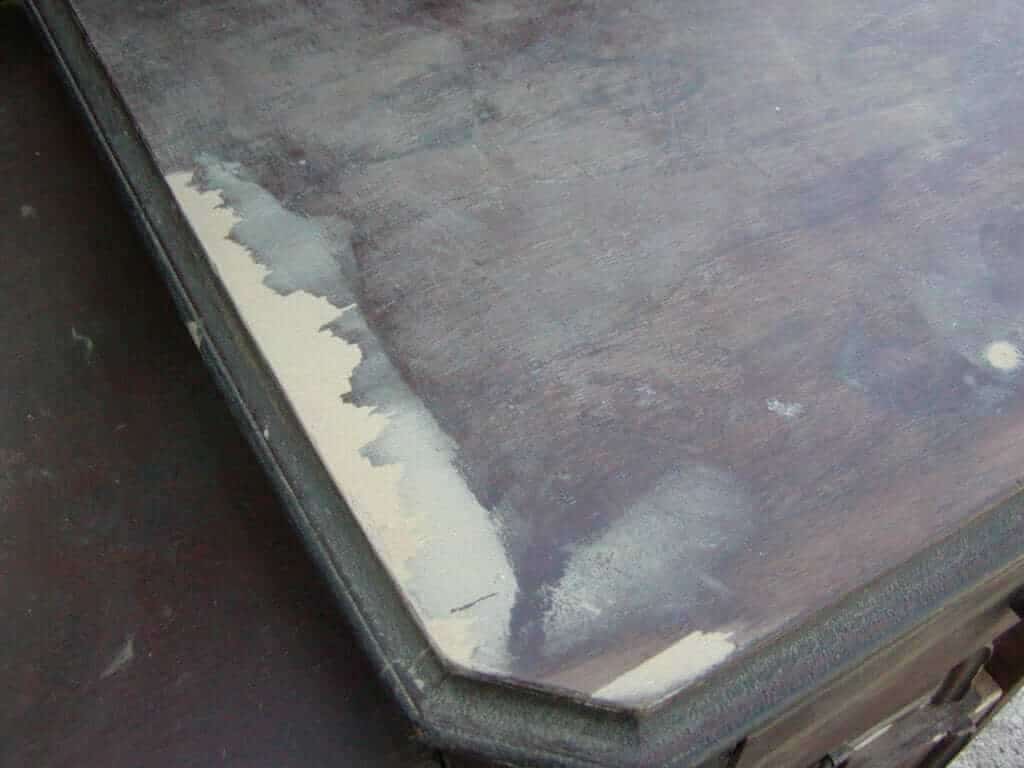
Using a 220 or coarser sand paper, I go over the entire piece. I will sand down parts that will need fixing so there are no course edges. The rest I just try to knock down any existing sheen and smooth out the surfaces. The time it takes to do this is based on how much repair will be needed. I usually use a small orbital sander for the solid spots and then just use folded sandpaper for the crevices.
Step Three: Making Repairs
Depending on what types of repairs are needed I will prepare the materials and have them all at my workstation so I don’t have to start and stop numerous times to get what I need.
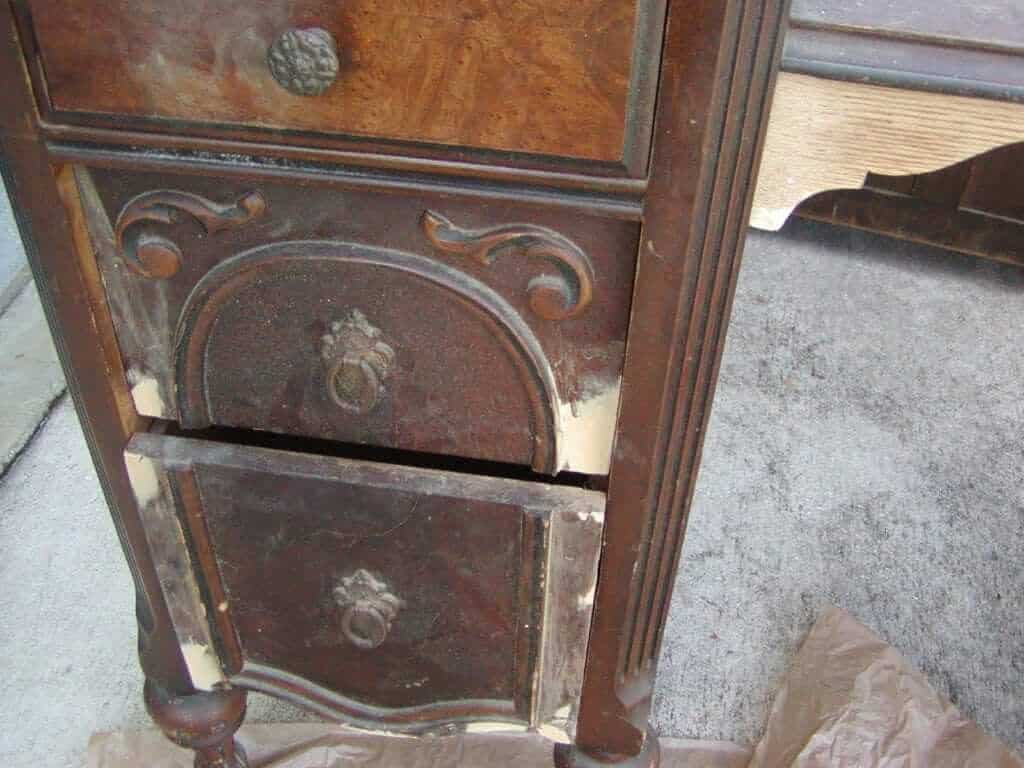
- For Missing Pieces – I take measurements and cut the pieces I need to repair missing veneer, etc. So on this piece, there was a bracket missing in the front. I took a sheet of paper and traced out the bracket that was still there and had my hubby jigsaw a piece of scrap wood using the template. As you can see, he did a really good job cutting and sanding it down to match. I attached it with glue and finishing nails.
- For Missing Details – I used wood filler to mold a replica of the missing molding. There were just a few pieces that had been knocked off over time. I glued the replicated piece and let that dry and then sanded it down so you could not see any seems. I also used the wood filler to bridge any gaps.
- For missing Veneer – On the sides where the veneer was splitting at the bottom, I cut a piece of Luan and made a flat molding to cover the splintering. I did this on both sides for uniformity. I just glued the molding to the existing veneer. On the top there were some spots that had worn down or were missing so I used wood filler to build up to the existing veneer and then sanded down until it was smooth and seamless.

Step Four: Painting
This is my favorite part because now the piece starts to take on a cohesive look and the character comes back to life. I use a flat off white or cream colored paint. I use foam brushes. I like the ones with the plastic handles versus the wooden ones because they last longer.
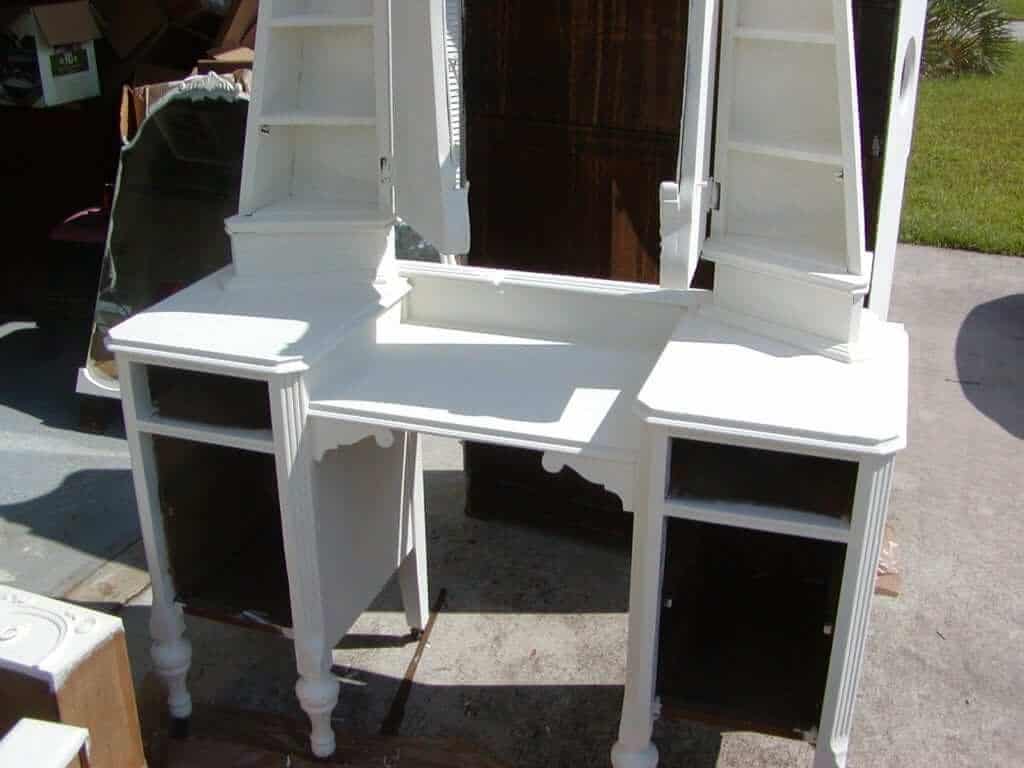

The first coat is just to cover the piece. It is not a thick layer by any means. I know that it usually takes a good 3 and sometimes 4 coats to get the look of a clean crisp new finish that will last over time.
The second coat I go more for coverage. I put the paint on a bit thicker than the last and make sure that the entire piece now looks mostly covered with paint. Not too thick though or you will end up with scratches. I really get those sponge brushes into the crevices with the paint. My brushes hardly ever withstand this coat.
Let this coat dry a couple hours and then put on your third coat. This coat should be providing you with coverage you cannot see the wood through. I do like to use a new brush at this stage so that I can get a nice clean smooth layer. You will be able to tell at this stage whether or not you will need a fourth coat. If you are going for the distressed look, three coats is usually enough. If you will not be distressing, you may want a fourth coat for consistency.
Step Five: Finishing Spray
I always use a spray varnish or a satin polymer top coat on all my pieces. This locks the paint in place and provides a protective finish that is easily cleaned later. I do a light coat and only one layer. I let the piece dry over night at this stage.
Step Six: Distressing (skip if not wanting an aged look)
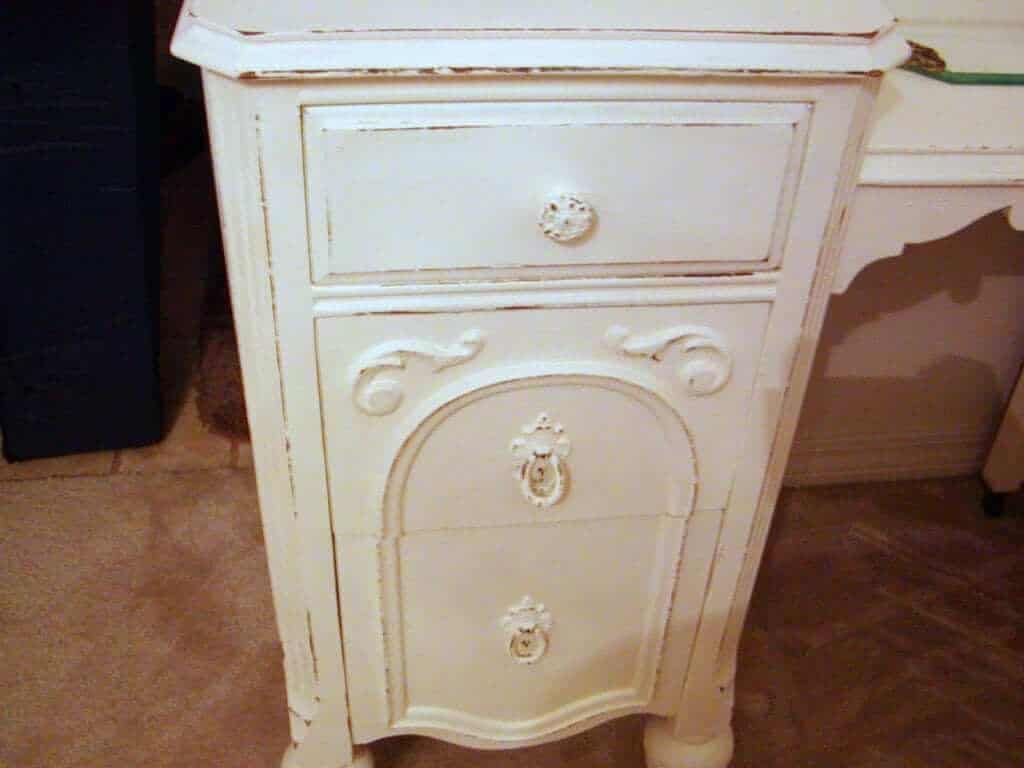
This is by far the most fun to me! I love letting the original wood peek through in spots on my pieces. I imagine where usage over time would have worn the paint off and I pick the spots on the molding that will add more character to the piece.
I use 220 sand paper on the orbital sander and apply light pressure to sand down the spots until the wood is seen. I do avoid the spots that had repairs done to them so as not to weaken or expose the repairs.
When sanding the molding or decorative pieces, I take care to only hit the top edges with light pressure from sand paper alone.
I have never intentionally put dings in pieces like you have seen where someone will take chains and beat pieces.
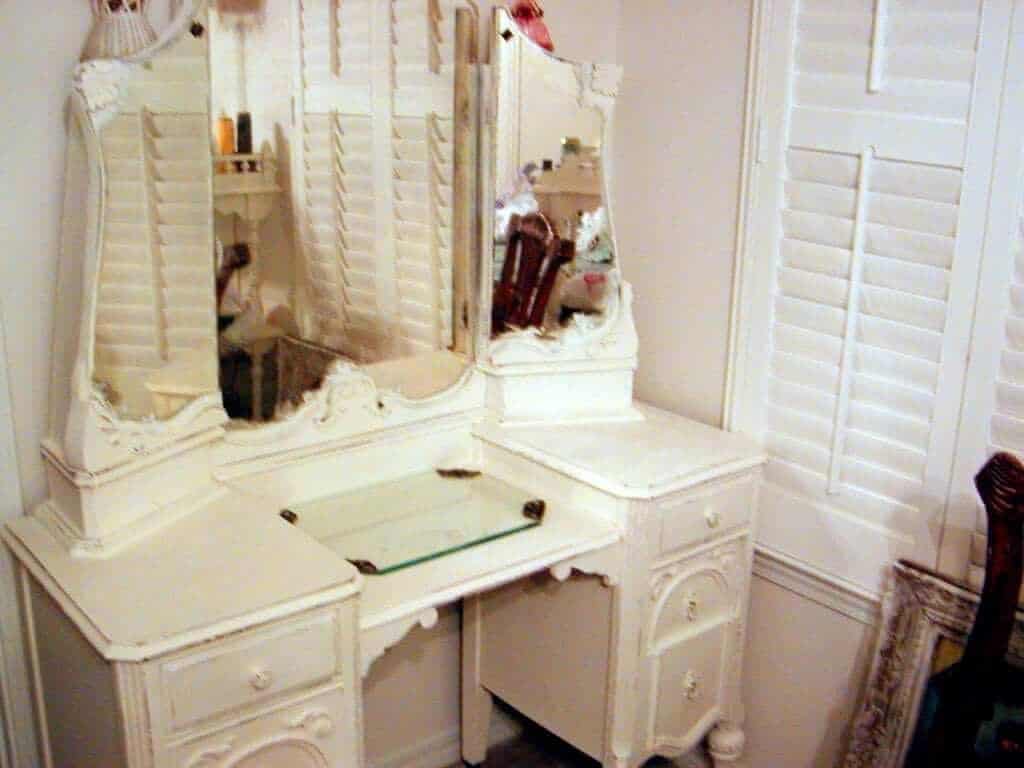
Step Seven: The final touches of the diy antique vanity makeover
In this step you will put all your pieces back together if there are more than one. In this case, it was putting the mirrored top back onto the body of the vanity. Take a step back and see if you missed anything that you will need to go back to do.
That’s all there is to it. This DIY Antique Vanity Makeover took me about 8 hours to complete (not counting the overnight drying process). I was very pleased with the outcome and feel the piece is now ready for another 50 years of use!
Here are some other projects you may like to take a look at!
Pin they DIY Antique Vanity Makeover for Later
