5 Simple Steps to Decorate Your Shelves
So many photos and nic nacs. Do you ever feel overwhelmed with just how to display these items in your home? Here are 5 simple steps to decorate shelves with all your favorite things!
My daughter and my grand kids just moved into a small apartment and it just was not feeling like home. She misses being close to family so it’s important for her to have lots of photos and gifts she has received to remind her of home.
She struggles with ways to display these items in a way that is inviting,interesting and makes her house a home without being overwhelmed. She often calls me for help and I’m happy to oblige! We both have our precious items and photos we have collected over time and love to look at these items to bring back happy memories.
Sound Familiar?
This happens in small spaces. There is very little room to display everything and sometimes trying to display it all causes a bit of overwhelm. I get it though, if you want to display it you have limited choices. With that in mind, these 5 steps to decorate your shelves are principles to apply even if you are a minimalist.
So how do you begin to decorate your shelves?
Step One: Take Stock of Your items You want to Display.
This photo is the BEFORE picture of how she attempted to decorate the shelves with her items. It’s filled with things that have memories for the both of us, which makes it much easier to decorate by the way!
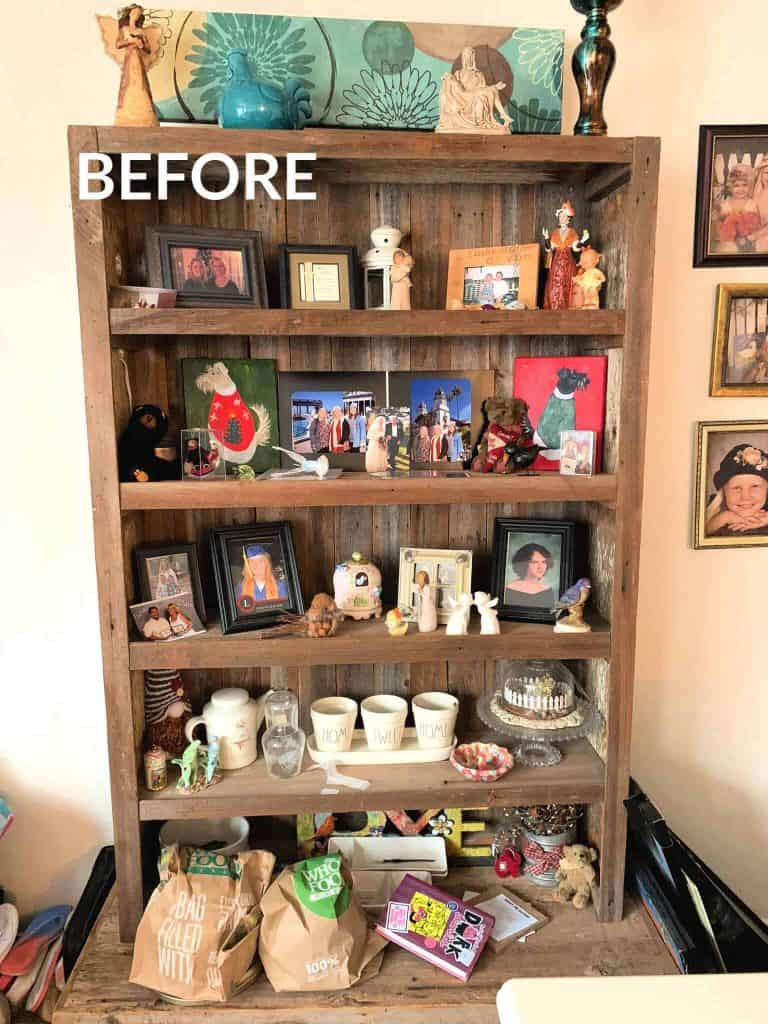
The very first thing I did was to remove each item and place them in piles according to type of thing it was. My stacks consisted of:
- Photos
- Birds
- Other Figurines
- Other Items
Not too many, not too complicated.
Step Two: Organize the Items by Meaning
Each of her photos were primarily of family members, Mom, Grandma, Kids, Cousin and Siblings. She also had to hand painted canvases of her beloved dogs given to her by her niece.
I organized the photos by person and even went so far as to sort chronologically somewhat. Then I took the other items that were either given to her by them or had a special meaning and placed them next to the photos.
The remaining items are fillers. Even though they all have a special meaning or are her favorites they really did not tie to a specific photo.
Step Three: Placement
Now comes the design part of placing items on the shelves that is pleasing and not overwhelming.
Because her space is limited, she has only this one shelving unit to display these items so it was a challenge to get them all displayed.
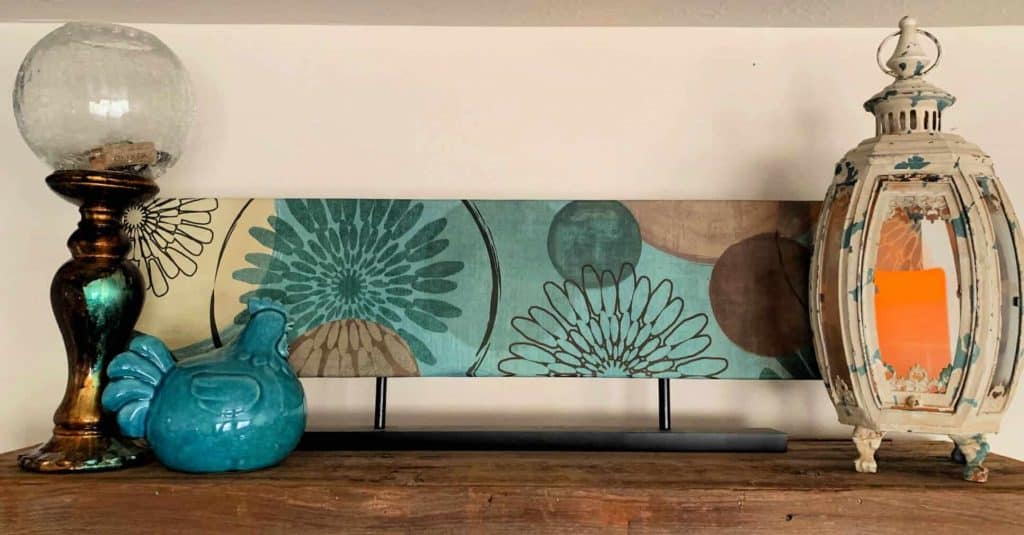
I started with the very top shelf. Not a shelf that anyone would be getting close up to so no need to put anything with any significant sentiment. In comes the Other Items! Those things she loves but really are more decorative.
So the top shelf contains a painted canvas, a candlestick, a chicken figurine, and a lighted lantern. All with colors that tie together in the blue/green family.
The middle shelves are then taken one by one and dissected into three sections mentally. I always work with odd numbers when decorating. It has always been more appealing to me even before Feng Shui became a household thing.
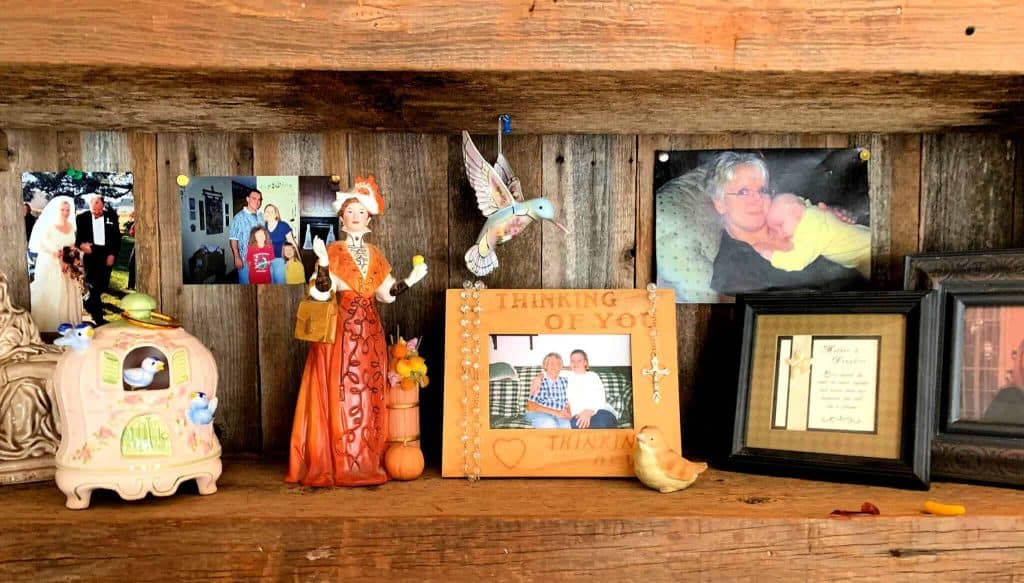
The following shelves were created by taking the photos in chronological order as I mentioned and I placed them in each section on each shelf. Grandma in the middle, Mom to one side and since Grandma loved birds, there is a music box with birds on the other side.
Then I took the other items that I had associated with the photos and placed them around the photos using the same rule of odd numbers.

The kids shelf is one of my favorites. Of course, they are my grand kids! So you can see the three sections again. I also added a few handmade items by the littlest over to the right. These things are priceless.

On the third shelf I had a lot of photos and items with Blue as the predominate color so I used that and made the three sections.
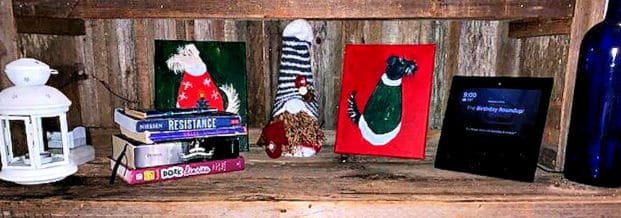
On the bottom shelf I placed the doggy canvases and I left the two sides open to place the rest of the decorative or useful items such as books and of course Alexa!
Step Four: The Unexpected
When I was done, There were a few photos that were not in frames so I decided to tack them up to the back of the shelves. Why not? There was space and putting them in frames would cause the shelves to be overloaded. They can also be easily swapped out with other photos to enjoy.
I’ve also seen Framed Art or Framed Photos hung from the shelf itself on the outside of the bookshelves. This too creates an unexpected placement and adds interest.
Step Five: Design Principles
The final step in 5 tips for decorating your shelves is balance. As you may or may not have noticed, I use balance to achieve an organized look. I place a tall, medium and short item to achieve balance.
The top shelf in regards to height, has a tall candlestick, a medium sized canvas and a small chicken. This is the first set of three. Then off to the side is the lantern. A single item of one. The shelf looks balanced. The eye starts at the left up high, travels low and then to the middle and then up again on the other side.
The other shelves follow the pattern of a focal point, the photo, and the items next to the photos. So you look at the photo first and then trail off to the smaller items. All are done with and odd number of items.
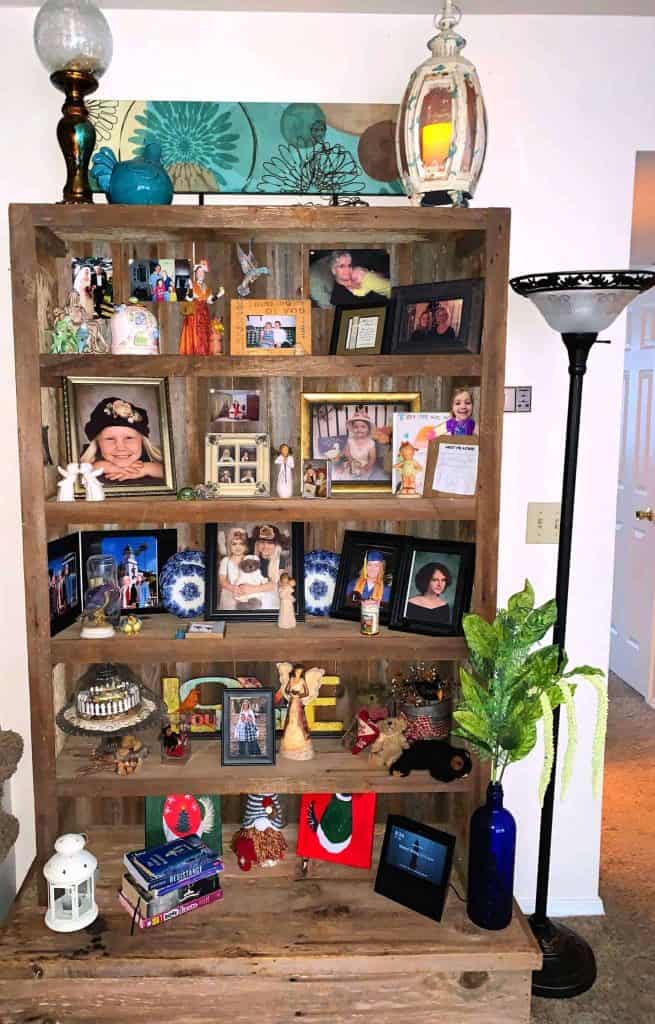
That really is all there was to redecorating her shelves.
Other Photos of Decorated Shelves
Here are a few other photos that follow the same guidelines. I’ve chosen different designs to show you how you can achieve the same thing regardless of what items you are displaying.
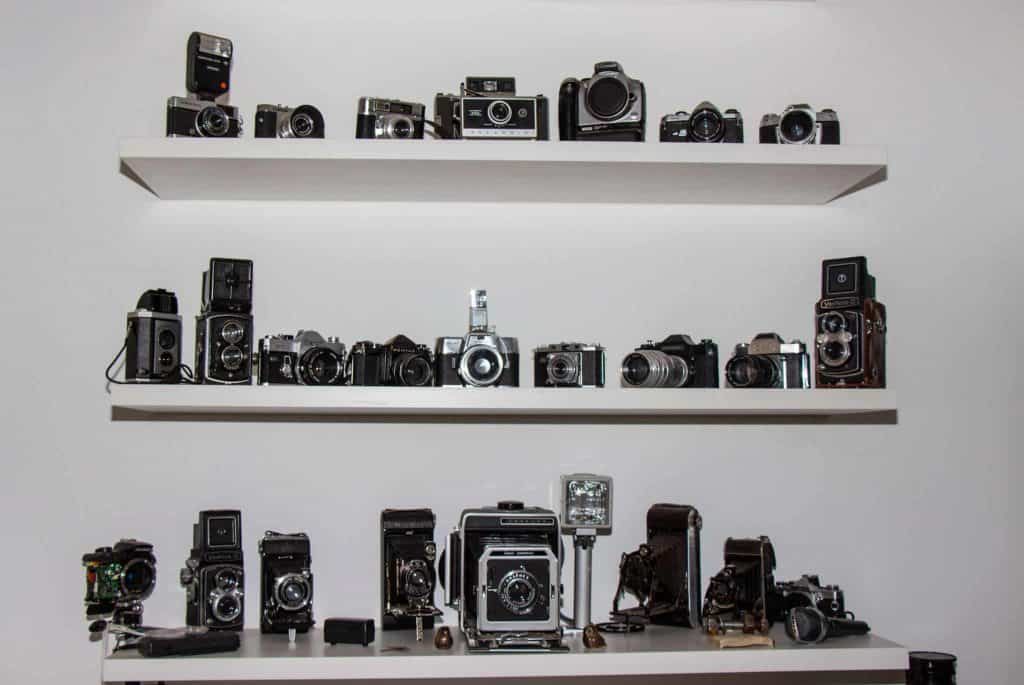
As you can see the collector used balance to decorate the shelves with their camera collection. Shelf one has an odd number cameras and the eye starts at the left and leads to the right and then to the second shelf that has balance with the taller cameras and ends with tall on the end. The bottom shelf is done in the three sections. Do you find this picture pleasing?
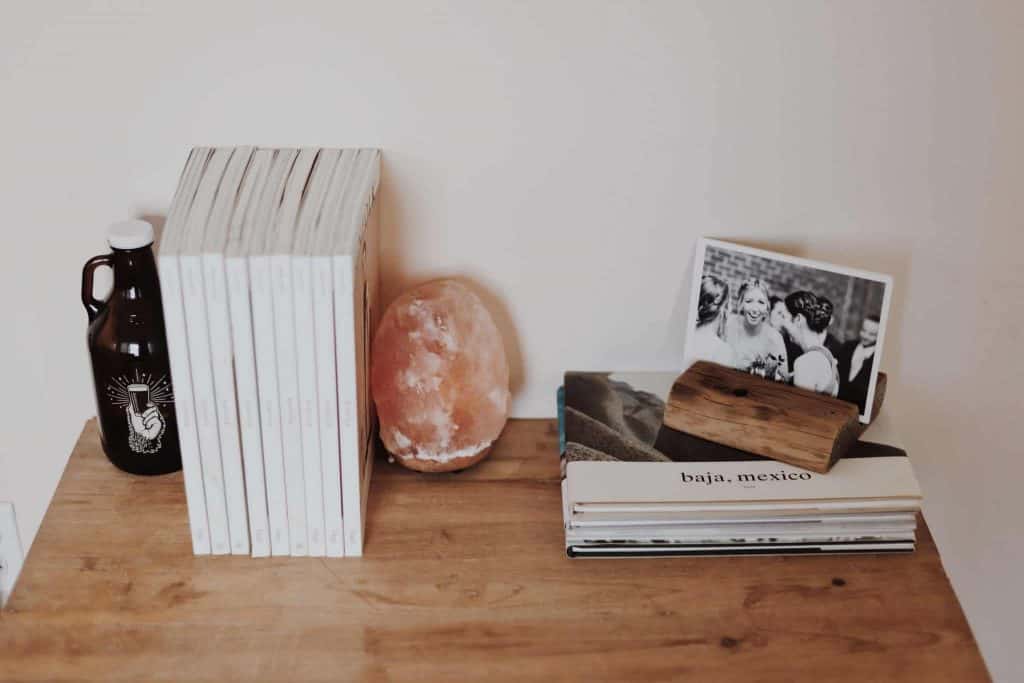
In this picture you can see that the books are the reason for the shelf, but the owner used the jug, the rock and the personal picture (set of 3) to bring some personality to the display.
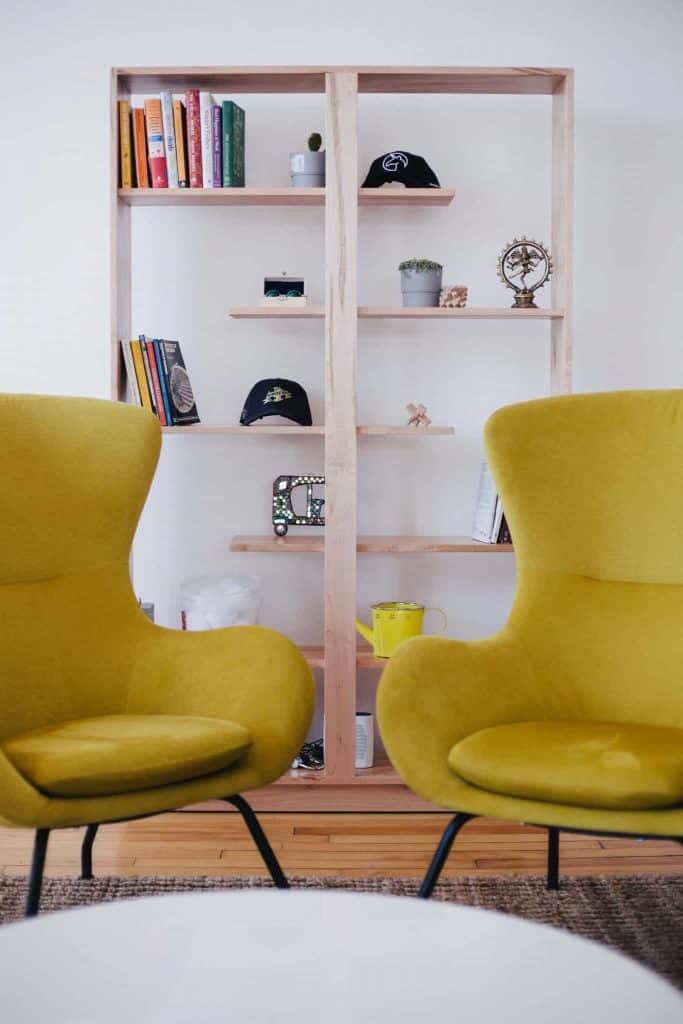
Even shelving themselves can create interest in a room. As you can see, the shelves are all different sizes and give the appearance of floating on one side. This makes for an interesting display for items. The owner has a very minimalist approach to decorating and it works with the modern chairs.
Do you think you can do it now?
Now that you have the 5 steps to decorate your shelves with balance, color, odd number of items and flow, do you think you can tackle your shelves now?
I’d love to see your before and after pictures. Drop them in the comments!
Pin it for Later:
[socialpug_tweet tweet=”How to Decorate Shelves: 5 Simple Steps for the Best Results.
Do you ever feel overwhelmed with just how to display items in your home? Learn in 5 simple steps how to achieve the best results. #decorateshelves #decorate #memorabilia #displaycollections” display_tweet=”How to Decorate Shelves: 5 Simple Steps for the Best Results
Do you ever feel overwhelmed with just how to display items in your home? Learn in 5 simple steps how to achieve the best results. #decorateshelves #decorate #memorabilia #displaycollections” style=”3″ remove_url=”yes” remove_username=”yes”]
