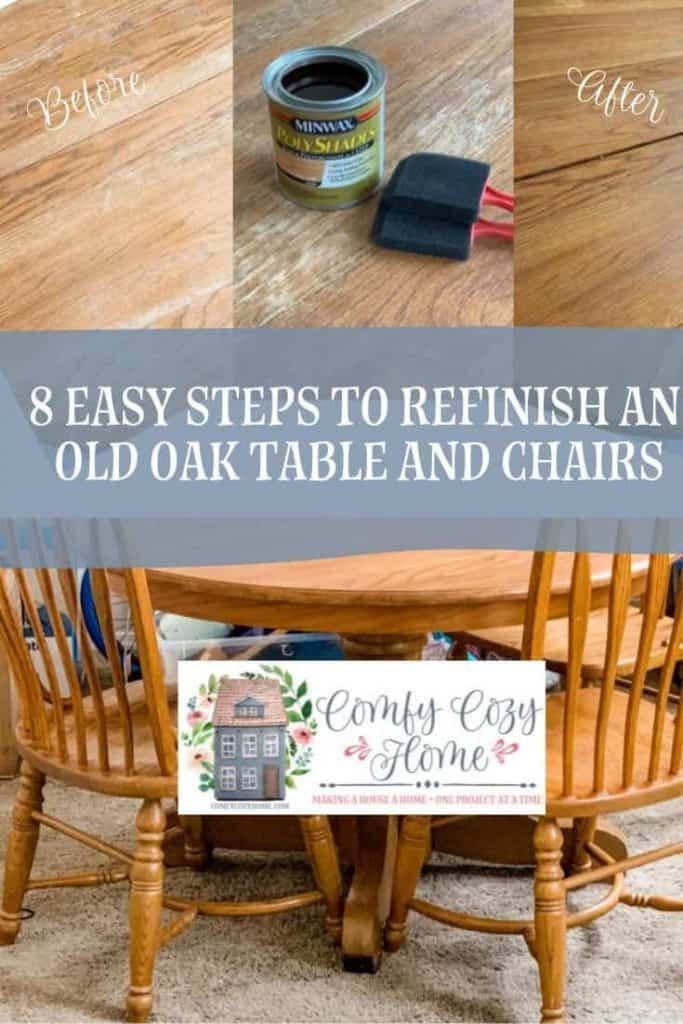
8 Easy Steps to Refinish an Old Oak Table and Chairs
While visiting my daughter and grand kids after they had moved into a small apartment I learned that she did not have a kitchen table and was reluctant to get one because the area was so small. Luckily I found an old oak table and chairs on Facebook Marketplace for only $100 and saw that I needed to refinish them. These are the steps I used for refinishing them.
This post may contain affiliate links and we may earn compensation when you click on the links at no additional cost to you. For additional information, please see my full disclosure policy.
Here are the steps I used for refinishing an oak table and chairs and the supplies I used:
- TSP Cleaner
- Sanding block
- Steel wool
- Citristrip QCSG801 Paint & Varnish Stripping Gel
- SKIL 5” Random Orbital Sander- SR211601
- Minwax PolyShades in Satin
- Red handled foam brushes
The table top was worn down to the wood in some places and the chairs had worn spots.
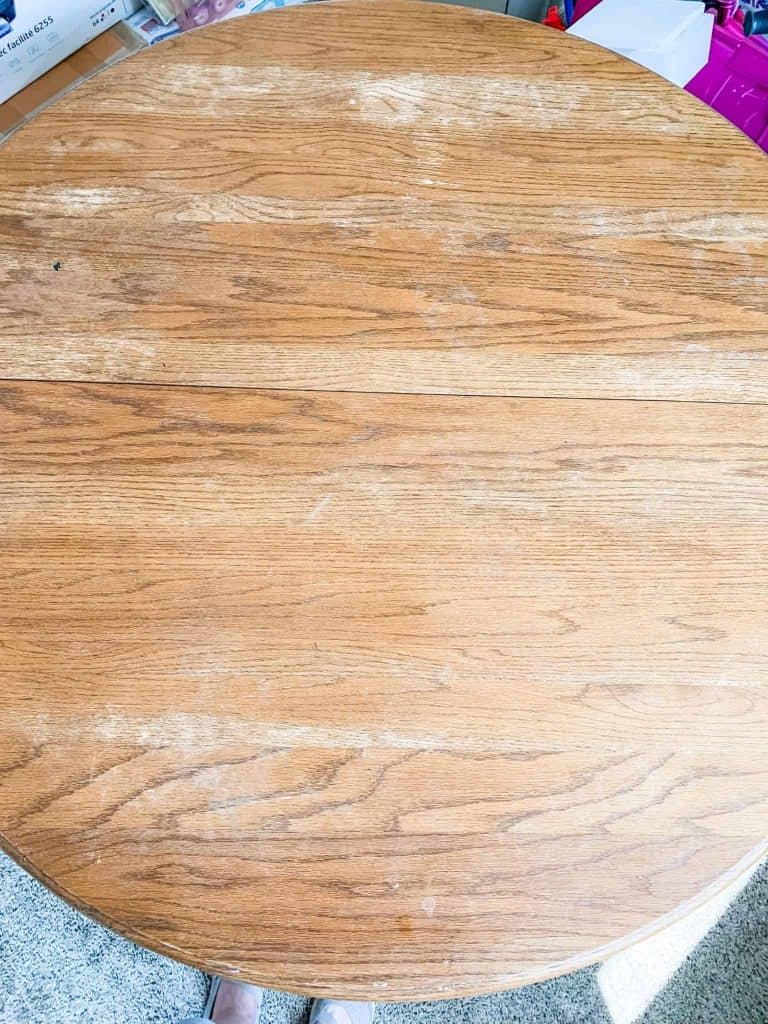
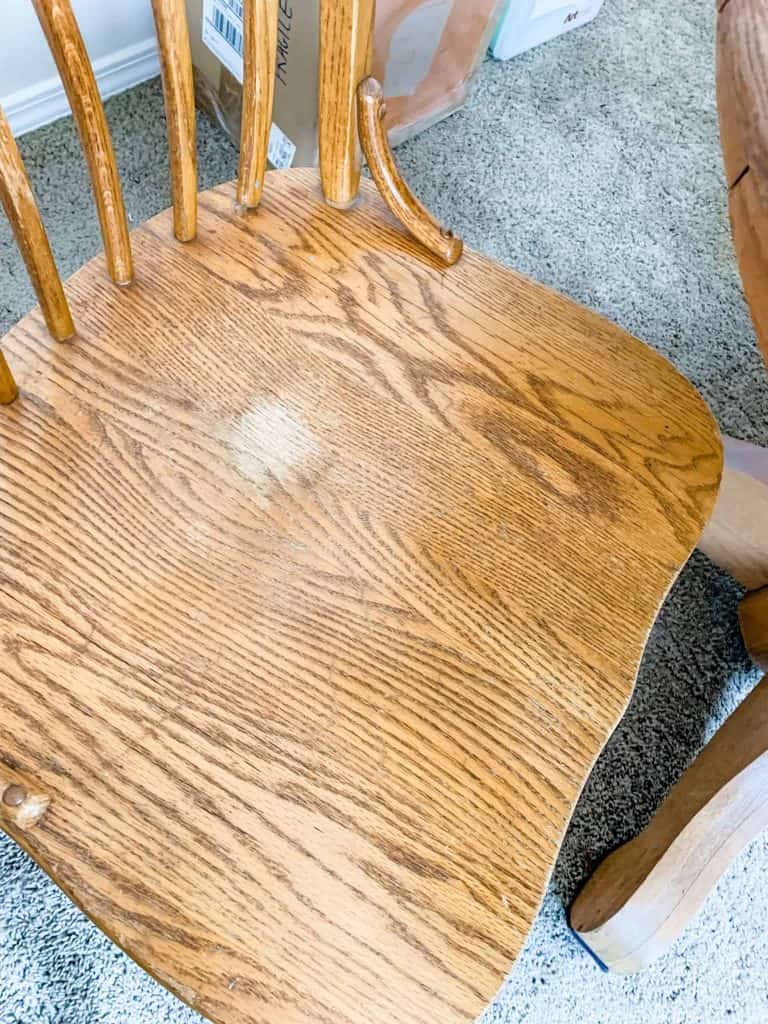
It had two leaves, which she probably won’t need but I went ahead and put them in so I could refinish it all at once. After I was done, we put the leaves in a closet for later use.
The whole process of refinishing the oak table and chairs took only 4 hours up to the first coat, 6 hours to dry that coat, and one more coat before I went to bed. The next day I finished up with the final coat and waited for that to dry. It was completely done and in place on the 2nd day! Follow my steps on how I refinished the oak table from start to finish!
Step 1 Clean the Table
Clean the table with mild soap and wipe dry as you go. Do not let water or soap sit on the wood. Wipe away the dirt in one area and dry it with a towel.
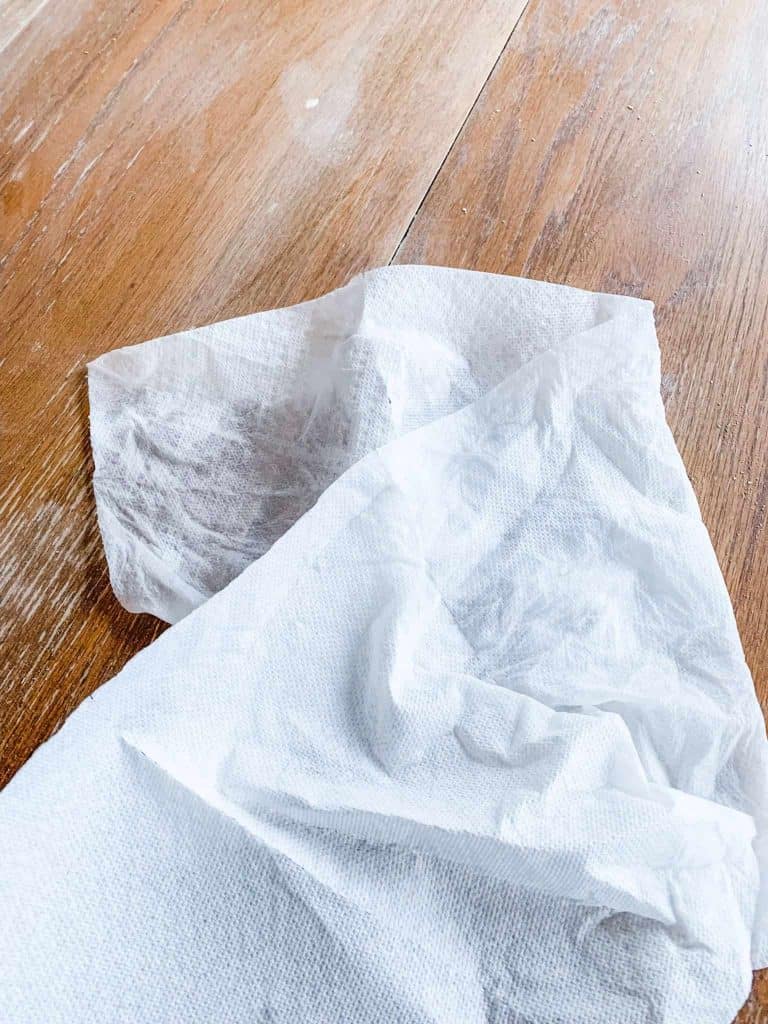
If your table has a heavy build up of dirt or grease, you can use an abrasive cleaner such as TSP or Cleanser. This will help once you are ready to strip and sand as you won’t have all that build up to work through.
Step 2 Strip the Table
If your table has a glossy finish (you can see a shine to it), then you will need to strip it first. There are many products on the market for stripping but I like to use Citristrip QCSG801 Paint & Varnish Stripping Gel because it has no harsh fumes, no methylene chloride, is non-caustic, you can use it indoors and can be used on wood, metal or masonry. The gell stays active for up to 24 hours so you can leave it on to strip away multiple layers in one step.

Step 3 Clean the Table Again
Once your piece has been stripped, you will want to follow step 1 again and clean the piece of all the stripper and layers of gunk.
Step 4 Sanding the Table
The table I got was worn down from years of use so there was no shine on it. So after step 1 jumped right to this step.
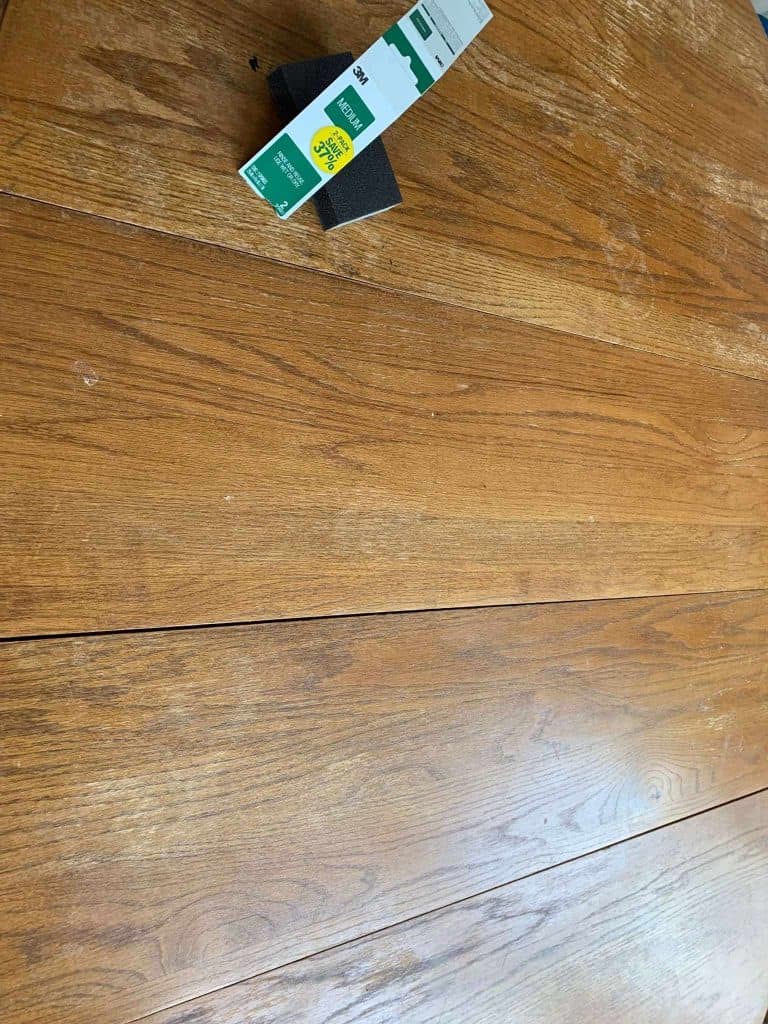
You are going to sand your table in this step. All the areas you can get to need to be sanded down. If you piece is not smooth to your liking, then you will need to use a tool to sand it down. Also depending on how rough the surface is will determine the grit(s) you use in this process.
The sander I use is an orbital sander. It is easy for me to grip and maneuver across furniture. I know that the experts recommend sanding with the grain of the wood, and I do this, just with the orbital sander. Then I used the sanding block as needed on the chairs where I could not get with the orbital sander.
I recommend the SKIL 5” Random Orbital Sander- SR211601. It has many good features but what I like most is the Easy to clean dust container that you can see through. It is better than the cloth ones that most have because I have found over time those cloth ones do not stay on and you end up with sawdust everywhere.

If your piece is rough, start with a 120 or 150 grit sandpaper and then finish with a 240. You will sand with the 240 in between stain coats so be sure you have enough in your toolbox. Here’s a link to a pack that will fit the orbital sander. Coceca 80pcs Orbit Sander Sandpaper Assorted 40 60 80 100 150 180 240 320 Grits for Power Random Orbit Sanders
Step 5 Prep for Stain
Using cheesecloth, a rag, or even a slightly damp paper towel, wipe off the piece to remove all the sawdust. You can also use a shop vac or blower to get off as much as you can before you wipe it down. Just be sure that it is clean or when you start to stain you will end up with bumps and clumps.
Step 6 Stain the Table
Now you are ready to stain your table. I like to use the stain and varnish all in one because it is a one and done and when it wears down I don’t have to go through all that stripping. However, if you know the table will endure a lot of wear and tear, then using a polycrylic over the stain is advisable.
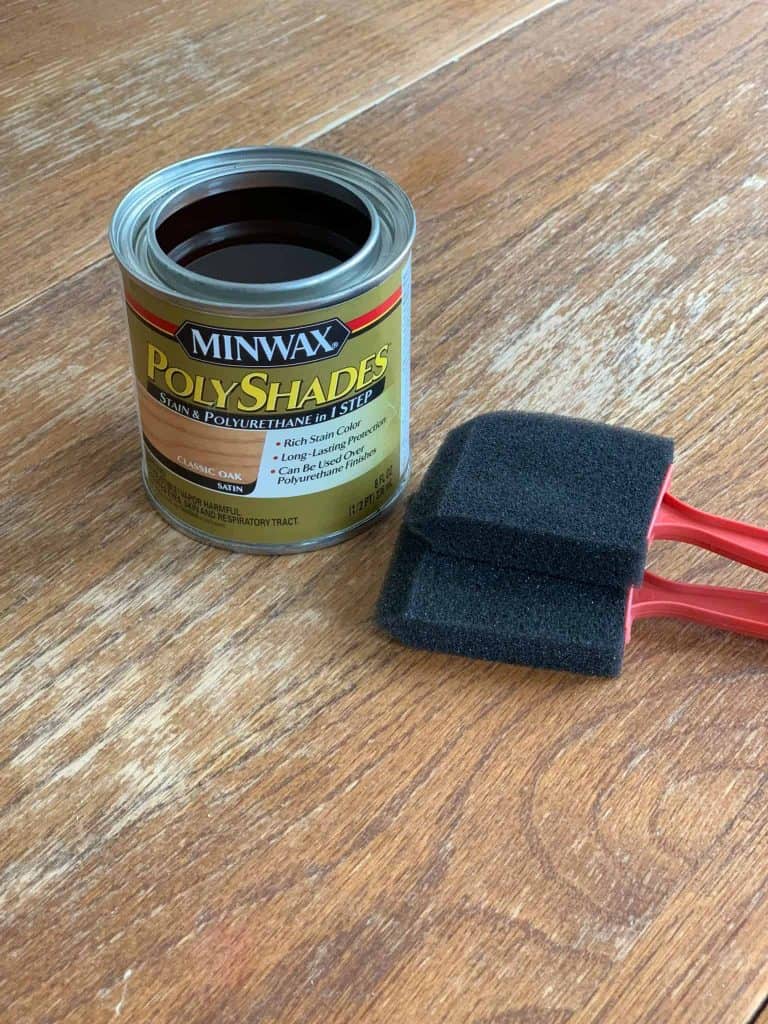
I like to use Minwax PolyShades in Satin. It comes in many different shades so pick one out that you like. Follow the directions on the can so you will get optimal coverage with little to no mess.
I use my favorite red handled foam brushes (as many of you know!) That way I can get nice coverage without brush strokes. Put the stain on in the direction of the wood. Since this has the polyurethane in it, you don’t have to remove the stain with a cloth before applying another layer.

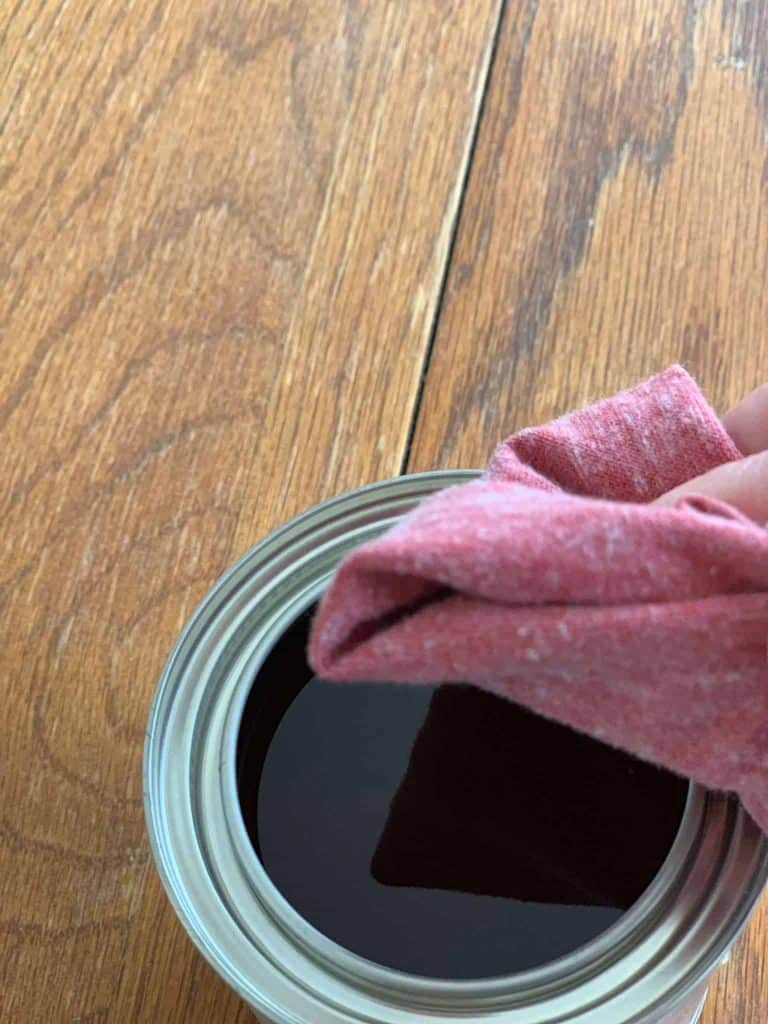
If you are using just stain, you will apply the stain, then use a cloth to rub it into the wood and remove the excess.
Step 7 Sand the Table
Once the first coat is dry (with poly or without), take your 240 sandpaper and lightly go over the surface. Then apply another coat of stain as in Step 6. Depending on how dark you want the results and how well your table absorbs the stain, you will do either 2 or 3 coats. Sanding in between until you have put on your final coat.
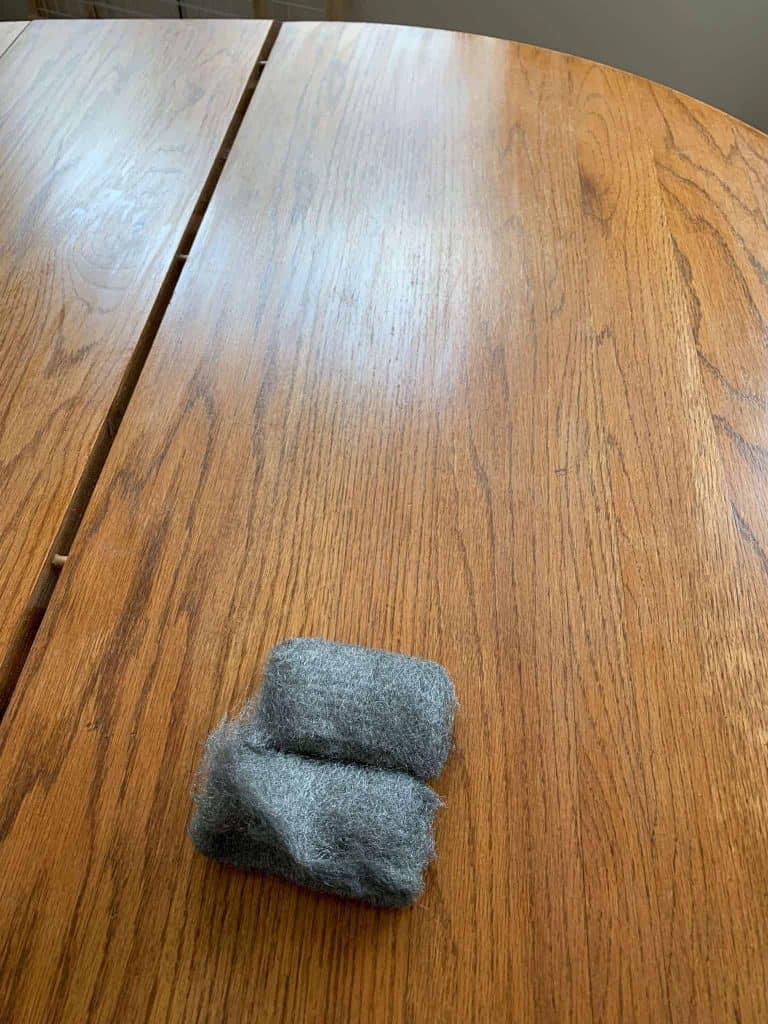
Step 8 Final Step
Once your table is completely dry, take some steel wool and lightly go over the final coat. This will knock down any lumps that may have occurred during the process. Your table should be done at this point and ready for many wonderful family dinners!
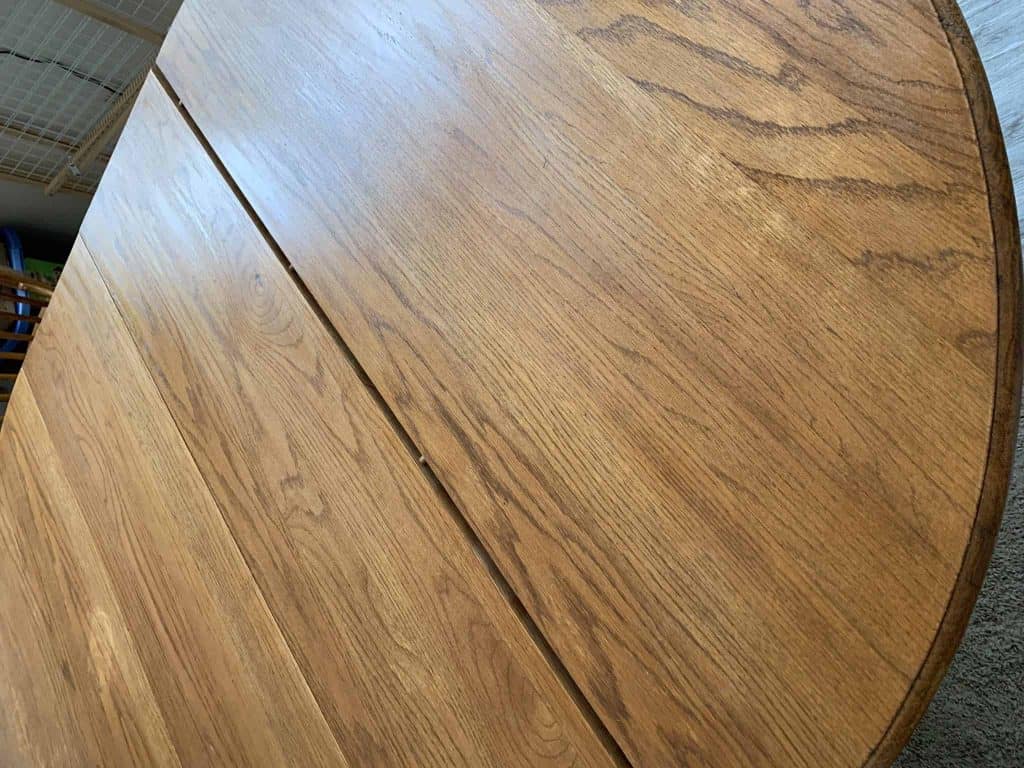
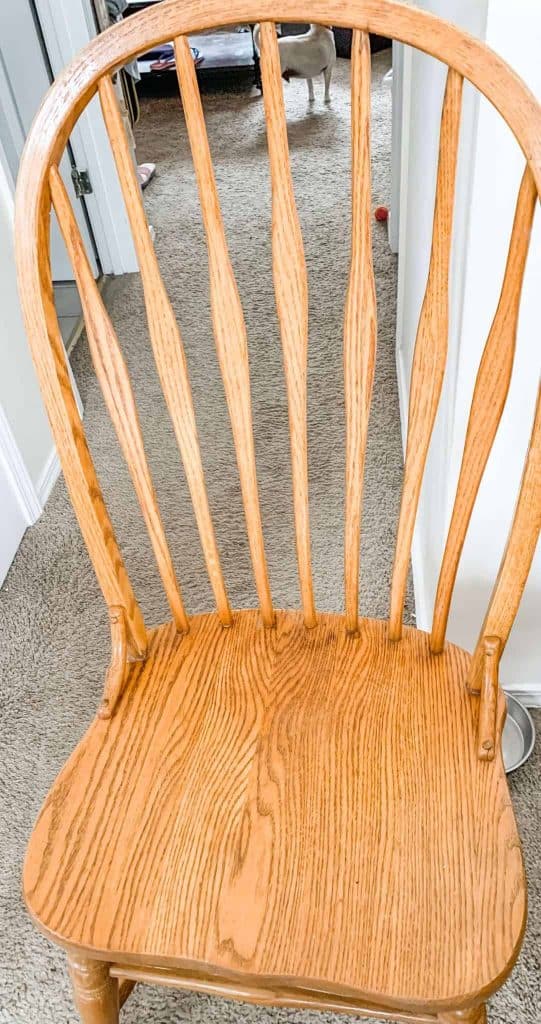
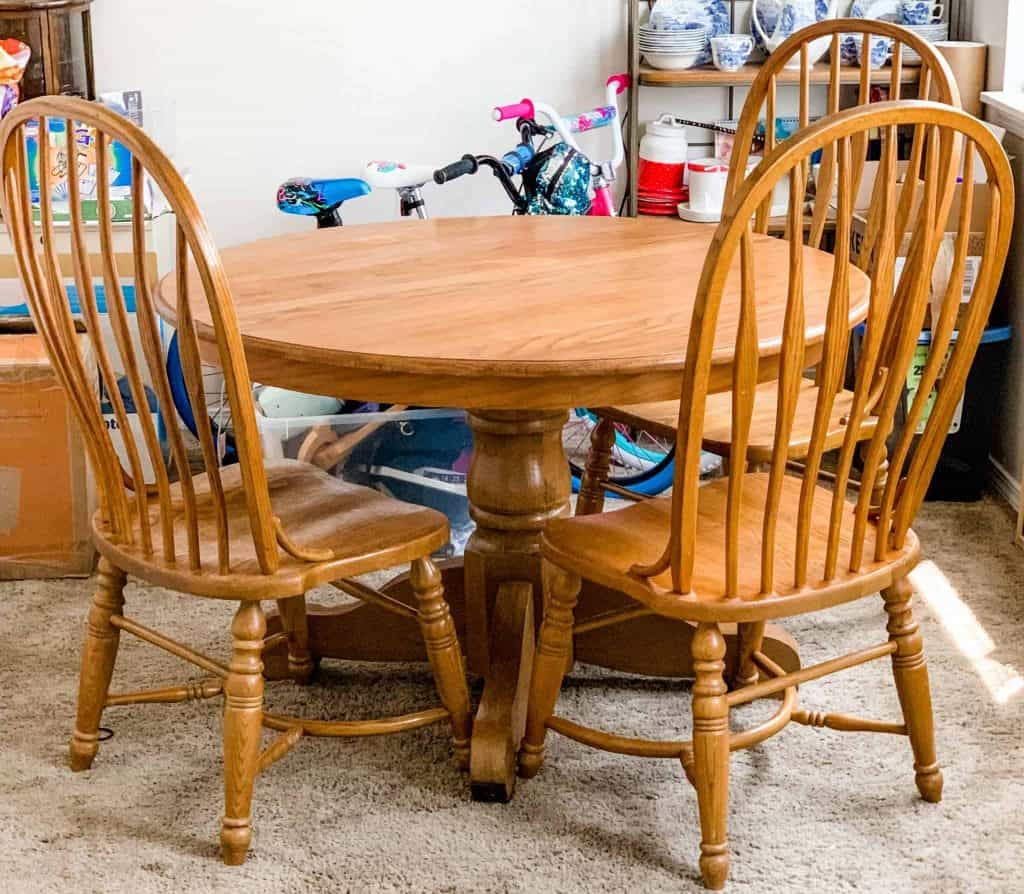
The fourth chair ended up in the living room for a seat at the desk in there. Since they are only 3, they didn’t need the chair in that tiny dinning area anyways!
She loved it and the kids were thrilled. We did crafts the next day and they played games and had a blast!
Check out my other tips on refinishing furniture here. I restored and painted an antique vanity.
I just love these kinds of projects! Tell me what is your favorite thing you refinished. I’d love to know your story!
Pin it for later:
