Easy Painted Buffet Makeover Using Stencils
This is an easy tutorial for how to update your buffet with stenciling! This technique can be used on any piece of furniture, so don’t worry if you don’t have a buffet. It’s also perfect for the beginner who has never done any kind of stencil before.
This easy painted buffet makeover using stencils only took me about three hours from start to finish and didn’t require any special skills or fancy equipment. You just need some paint and a stencil, which you can create yourself or grab the free SVG here Making Stencils for Furniture with the Cricut.
About our New Series…
We bought our home which was built in 1984 knowing it would need some updating. Along with our sister blog CraftRoomTime.com, we’ve partnered up to bring you a series of episodes that take each room and update it to a more comfy cozy home incorporating a few different styles.
The first series is transforming our dining room from an “office” to a fully functioning “dining room” where we can share all our family meals together.
Episode one is about painting our antique buffet (which needed some minor repairs) to match the table that I fell in love with just after we purchase the house.
Watch along with me as I teach you step by step how to go about painting furniture and applying stencils to let the beautiful wood show through. That has become one of my favorite things to do to any painted piece, let a part of the old show through.
You can find full instructions on how to make your own stencils to cut on the Cricut in Craft Room Time’s new series “Cricut This” where they take inspirational rooms and make the decor themselves using the Cricut! The instructions and Free Stencil SVG design can be found here: Making Stencils for Furniture with the Cricut
This post may contain affiliate links and we may earn compensation when you click on the links at no additional cost to you. For additional information, please see my full disclosure policy.
Supplies Used
Instructions
First do any repairs to the piece such as filling in holes with sandable wood putty, replacing chipped, cracked, or missing veneer, etc. Refer to this post for detailed instructions on how this is done.
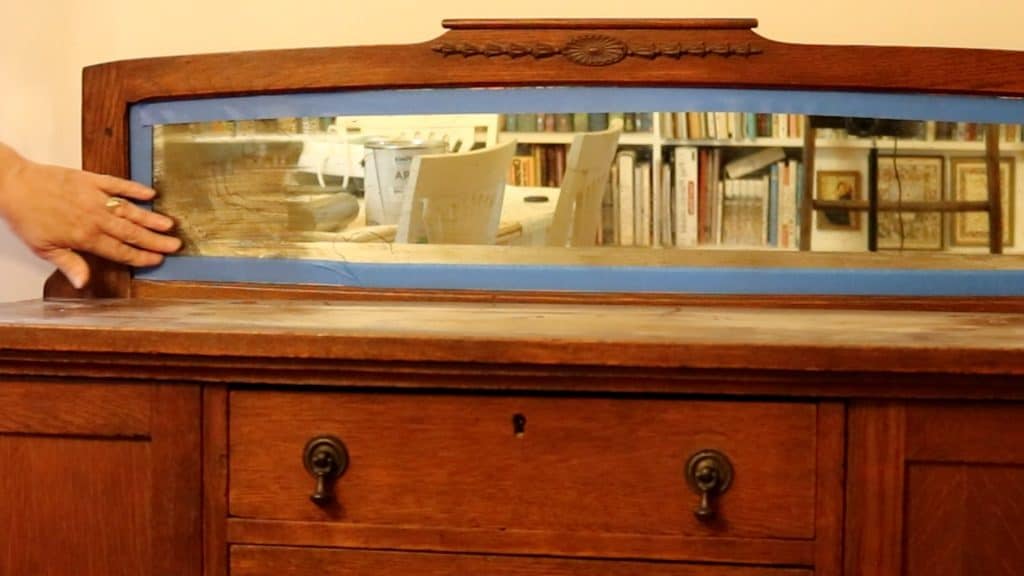
Tape off any areas that you don’t want to paint or any mirrors or glass using the Painter’s Tape.
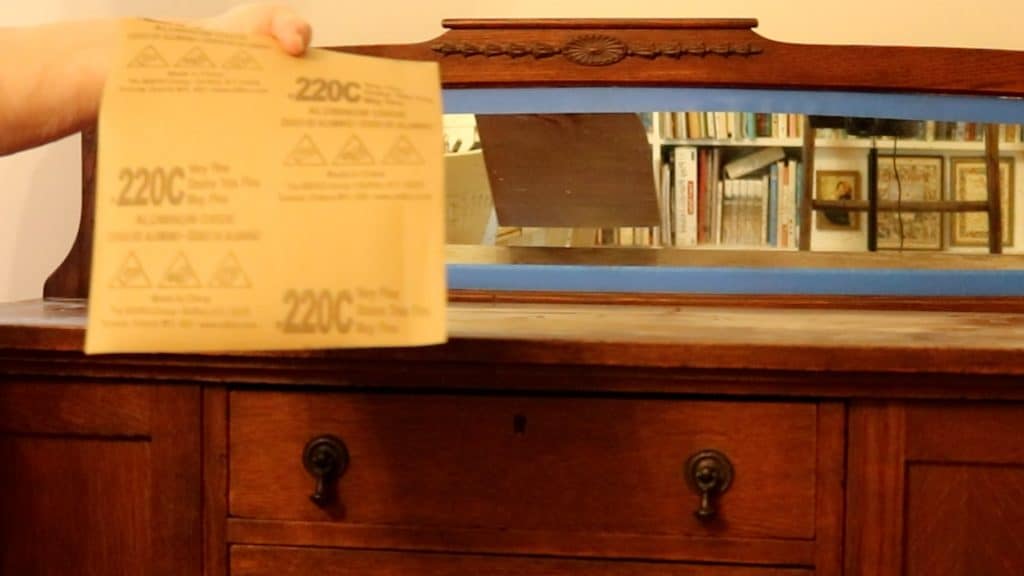
Then, using the 220 sand paper, go over the whole piece. Do this to knock down any spots and to allow the paint to stick to the surface of the piece. If the piece has a high gloss sheen, you may need to strip it first but I have found that sanding it works.
Next, use a piece of cheesecloth or a damp paper towel to remove all the dust. Let it dry thoroughly.
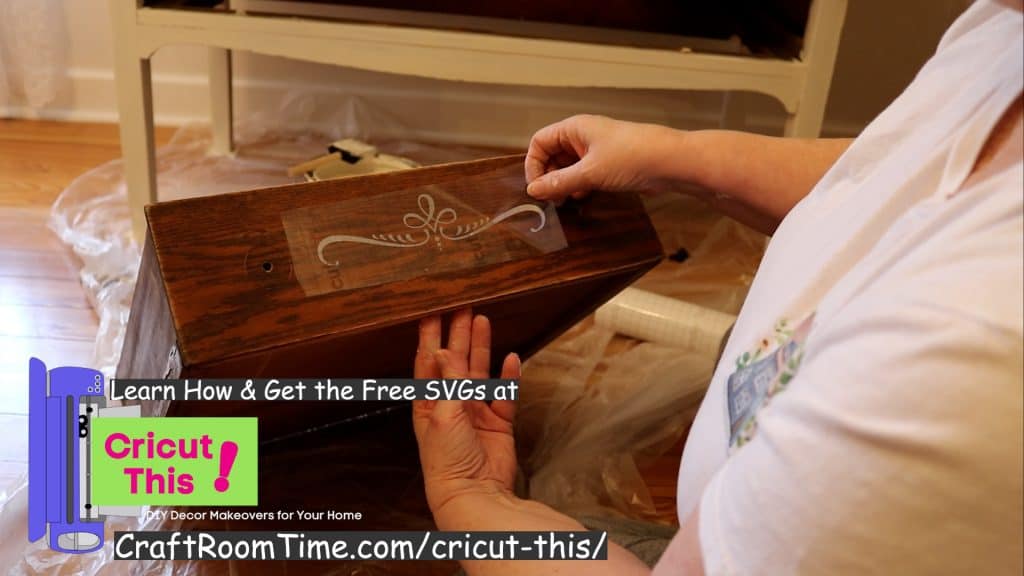
If you are using stencils, then be sure to apply them at this time before you start painting. See the video for how to apply the stencils properly and if you like the ones used here, you can get them free here Making Stencils for Furniture with the Cricut
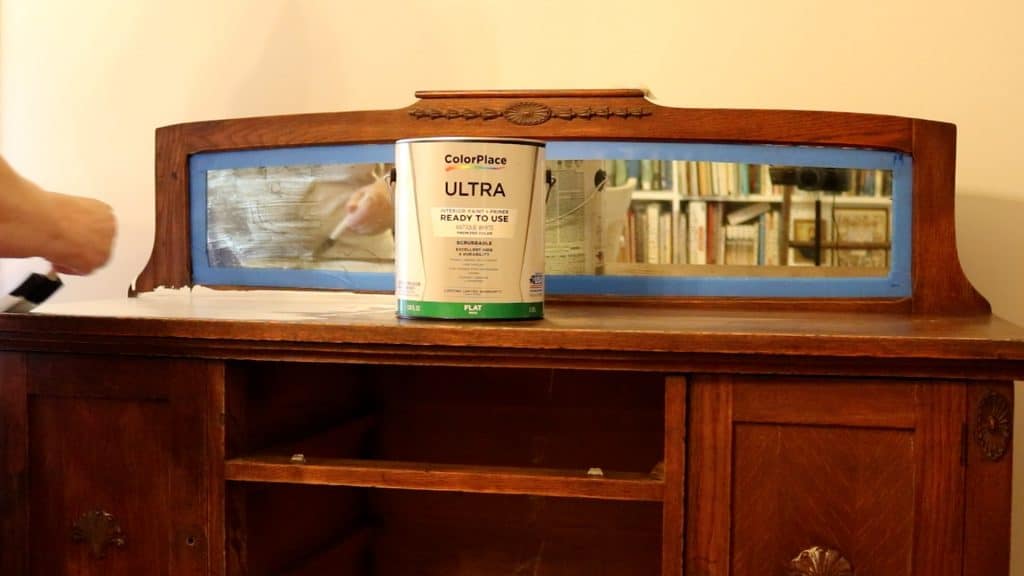
Stir the paint really well and then using the foam brush, apply the first coat. This coat is not mean to be a thick coat, but rather a simple coat to cover the entire piece. The second, third and fourth coat will build on top of each other to provide coverage.
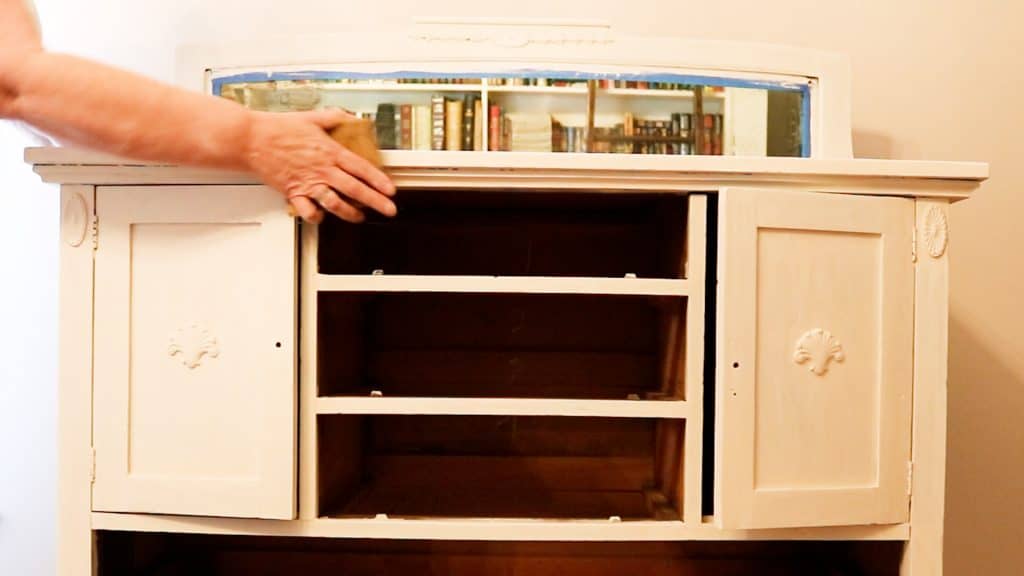
Once you have the entire piece painted to your satisfaction, then take the sandpaper and go over the edges and decorative pieces to expose the wood beneath. This helps give it character with a more worn look as well as highlight the decorative pieces better.
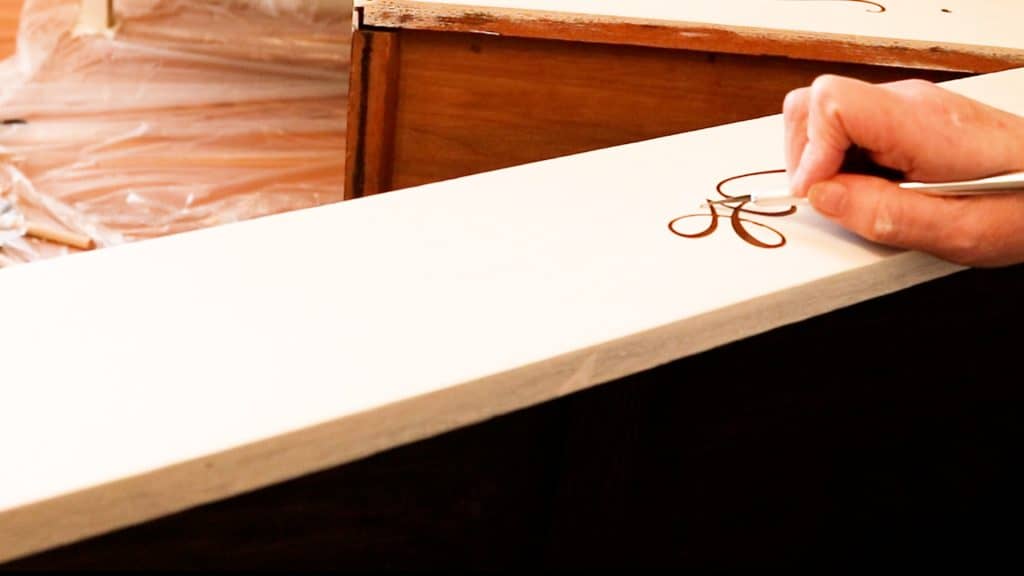
If you applied stencils, remove them carefully with an Exacto blade or weeding tool.
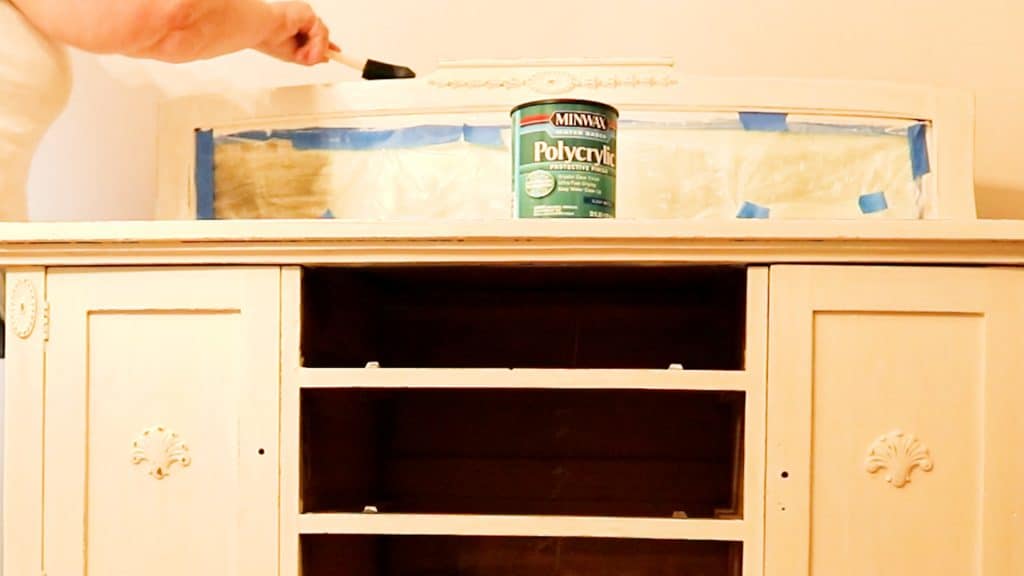
Lastly, apply 2-3 coats of Polycrylic to protect the paint and the wood. Lightly sand in-between the coats but not on the last one.


